If you live near the Silver Lake Reservoir, your view is more than a nice extra. It is a lifestyle cue that can lift clicks, showings, and offers. Buyers who want an urban but green life often start online, and they respond to visuals that feel real and well composed. You can use a simple plan to show the water, the path, and your outdoor rooms without giving up privacy.
Below is a clear playbook for timing, framing, and sequencing your photos so your listing tells the story buyers want. You will also see privacy and permit tips for Los Angeles. Let’s dive in.
Why reservoir visuals matter
Strong listing photos are among the most important elements buyers use online. In a view-driven pocket like Silver Lake, the right images lead with the reservoir, then show how your home connects to it. This reduces uncertainty and pre-qualifies buyers who care about walkability, water views, and outdoor living.
When your set shows the actual angle and distance to the reservoir, plus how rooms open to patios and decks, you increase click-through and the odds of a showing.
Set your visual story
Go into the shoot with clear objectives so each image has a job.
- Show the view. Make the reservoir legible, not just implied. Let the viewer see what the view looks like from a specific room or balcony.
- Show access and use. Highlight the loop path, dog-friendly areas, and the property’s connection points without revealing private details.
- Show outdoor living. Stage terraces, patios, and decks as usable “rooms,” with seating and lighting that suggest daily life.
- Preserve privacy. Avoid neighbors’ interiors, faces, or license plates. Keep people unidentifiable and distant.
Sequence the set so the viewer moves from neighborhood amenity to exterior, to interior, to outdoor rooms, then back to context.
Timing and light
Light sells mood and scale. Plan for these windows:
- Golden hour. Shortly after sunrise or before sunset for warm tones, long shadows, and depth on the waterline.
- Blue hour. Just after sunset for twilight exteriors where interior glow meets ambient reservoir light.
- Midday. Useful for shaded patios or when you must shoot into bright skies. Balance exposure with gentle fill or HDR so the water and sky are not blown out.
- Weather. Slightly overcast days give even light on facades and outdoor rooms. Clear days favor long views. After rain, wet surfaces add reflections. Skip heavy rain for safety and gear.
Compose for clarity and scale
Good composition helps online viewers read distance and space.
- Use leading lines. Let the shoreline, path, railings, or steps guide the eye toward the water.
- Rule of thirds. Place the horizon or reservoir edge on the upper or lower third, not dead center.
- Add foreground interest. A planter, set table, or railing adds depth, especially from a balcony.
- Show orientation. If the home faces the reservoir at an angle, show that angle so buyers understand sightlines.
- Avoid distortion. Very wide lenses can stretch edges. Keep verticals straight during the shot or in post.
- People and activity. If you include activity on the path, keep subjects small and unidentifiable. Get written permission for any identifiable individuals and follow park rules.
Gear that helps
You do not need a studio to get production-level results.
- Wide-angle lens. Show rooms and views together, but avoid extremes that distort.
- Telephoto or moderate zoom. Compress distance to clarify the waterline and scale.
- Tripod. Essential for twilight, bracketed HDR, and long exposures.
- Polarizing filter. Reduce glare on water and deepen skies. Use with care to avoid uneven results on very wide views.
- ND filter. Create long exposures that smooth water and gently blur path activity for an “active but not crowded” feel.
- Bracketed exposures. Balance bright sky and darker interiors when rooms face the water.
Reservoir-ready shot list
Follow this sequence to create a coherent set that sells lifestyle and privacy.
Neighborhood and amenity
Wide neighborhood context shot from a public vantage point that clearly shows the reservoir loop.
Mid-distance view of the path with people or dogs at a distance for scale and use. Keep faces unidentifiable.
Close detail of an amenity that supports the story, such as a bench or meadow.
Exterior and orientation
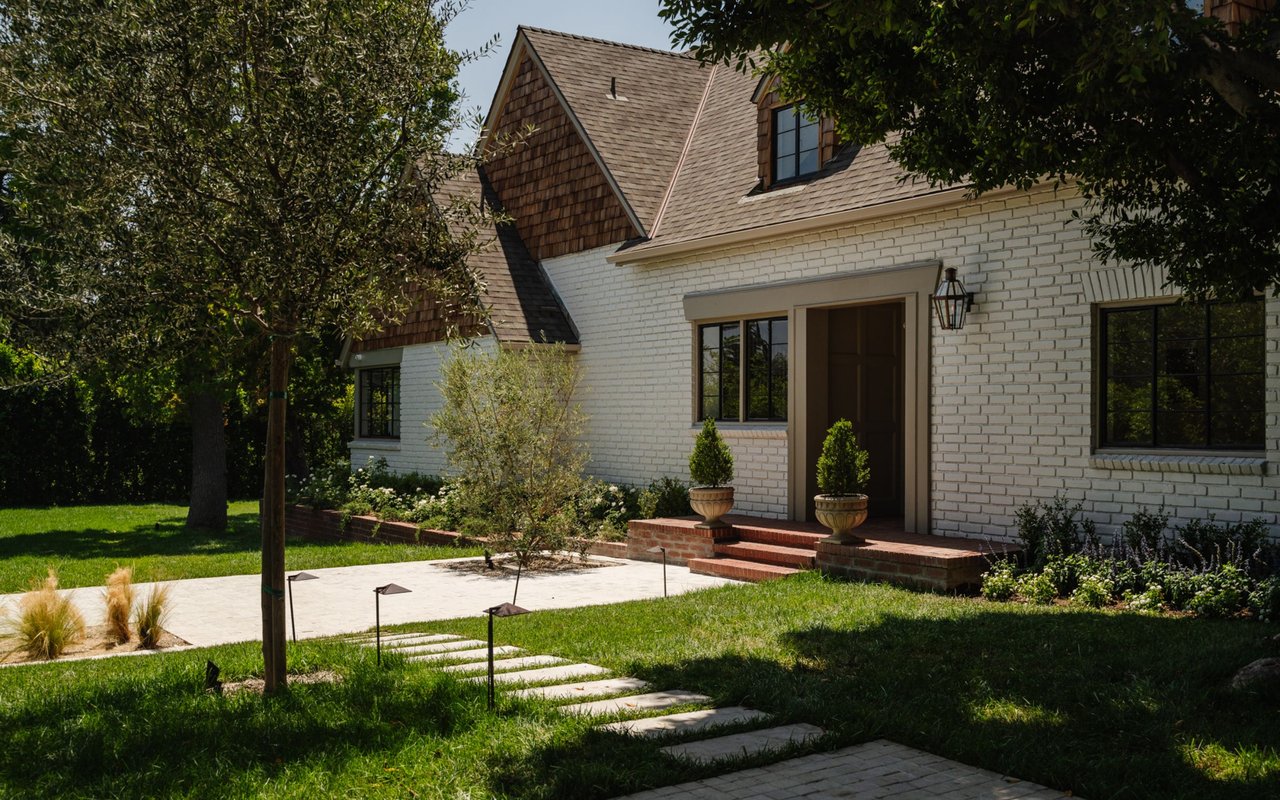
Front or approach shot that shows the home’s elevation and relationship to the street and reservoir.
If safe and permitted, a wider view from the water or park side to show proximity.
Indoor to outdoor flow
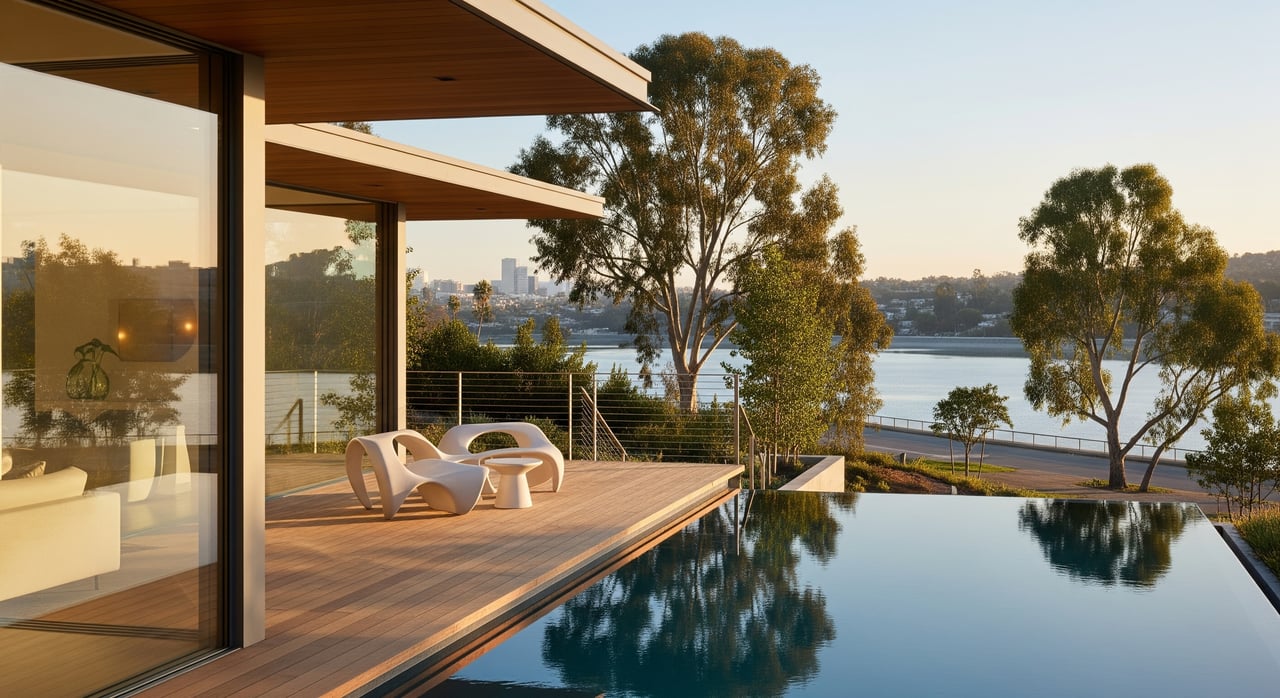
Hero “room with a view” image. Compose the living room or primary suite so the reservoir is visible through glass while the room feels welcoming.
Wide balcony, deck, or patio shot that frames the outdoor room first, then the water beyond.
Twilight patio or deck image with interior lights on for evening ambiance.
Details and lifestyle
Close-ups of outdoor living features such as built-in seating, fire features, planters, or an outdoor kitchen.
Path-level or gate shots that imply ease of access without revealing neighbors’ private spaces.
Aerials, if allowed
- Elevated oblique that places the home in the neighborhood and shows its position relative to the reservoir. Only fly if fully compliant with rules and permits.
Stage your outdoor rooms
Small edits create a big difference online.
- Declutter and edit. Keep furniture minimal, oriented to the view. Remove excess accessories.
- Trim foliage. Open clean sightlines while maintaining privacy.
- Add a few cues. A throw pillow, a carafe, or soft lighting at twilight suggests use without over-staging.
- Hide personal items. Remove anything that can identify you or your neighbors.
Legal and privacy basics in Los Angeles
Respect rules to protect yourself and your listing.
Drones and permits. Drone operations must follow federal rules. Many city parks restrict or require permits for flights. Confirm with Los Angeles Department of Recreation and Parks before planning any aerials near the reservoir. Use a properly credentialed pilot and obtain property owner permission.
People and private property. Do not photograph through neighbors’ windows or capture identifying details like license plates or faces. If you plan any staged activity in public areas, use written releases and comply with park permits.
HOA or building rules. Multi-unit buildings may have photo restrictions. Check with the property manager or HOA.
MLS and portals. Follow local MLS rules on accurate depiction, allowed edits, and image specs. Avoid manipulations that misrepresent distance, view, or orientation.
Create a simple permissions checklist in advance: owner sign-off, HOA confirmation, neighbor courtesy notice if needed, model releases, and any park approvals for public-land images.
Measure the impact
Track performance to confirm your photography is working.
- Click-through rate. Compare listing impressions to clicks before and after your image refresh.
- Showings and DOM. Watch showing volume and days on market after upload.
- Inquiry quality. Note how many inquiries reference the reservoir or views.
- Social engagement. If you run paid or organic posts, track saves and shares for reservoir-led images. Consider A and B testing daytime versus twilight hero shots to see which drives more showing requests.
Quick field checklist
Use this at-a-glance list to stay organized.
Pre-shoot
- Confirm permissions, including any park and drone needs.
- Check weather and sunrise or sunset times. Plan golden and blue hour coverage.
- Prep outdoor rooms. Declutter, trim, set seating toward the view, and test exterior lighting.
On-site
- Start with neighborhood context from public vantage points.
- Capture exteriors that show orientation to the reservoir.
- Photograph interior rooms that look toward the water. Show doors, windows, and access.
- Capture staged outdoor rooms and detail shots.
- Shoot twilight and any permitted aerials last.
Post-shoot
- Correct exposure and perspective. Keep edits honest and avoid composites that change the view.
- Prepare crops for MLS and social channels.
- Add clear captions that state vantage point, such as “view looking west from upper deck.”
Bring it together
Your goal is to give buyers visual proof of the reservoir lifestyle and a clear sense of privacy. Lead with the loop and waterline, show how the home opens to the outdoors, and present outdoor rooms as living spaces. When your photo set follows a thoughtful sequence and respects local rules, you earn more qualified clicks and better showings.
Ready to position your Silver Lake view for maximum impact? Request a private home valuation with Unknown Company and get a production-level photo plan tailored to your property.
FAQs
What is the best time to photograph Silver Lake Reservoir views?
- Golden hour for warm depth and reflections, and blue hour for twilight exteriors with interior glow. Use midday only for shaded patios or to balance bright skies.
How can I show the reservoir without exposing neighbors’ privacy?
- Frame wide and keep identifiable details out of focus. Avoid neighbors’ interiors, faces, and license plates. Time the shoot to minimize activity near property lines.
Do I need a permit to fly a drone near the reservoir?
- Follow federal rules and check Los Angeles Department of Recreation and Parks for local restrictions. Many parks require permits or prohibit flights. Always use a qualified pilot.
What photos should I lead with on listing sites?
- Start with a strong reservoir context image, then the exterior that shows orientation, followed by your best room-with-a-view and a staged outdoor room shot.
How do I make small patios feel like outdoor rooms in photos?
- Edit clutter, use right-sized seating facing the view, add a single accent like a throw or lantern, and shoot at golden or blue hour for mood.
How can I tell if my new photos are working?
- Track click-through rate, showing requests, days on market, and inquiry notes that mention views. Compare results before and after your photo refresh.